Peghead drilling R&D
January 3 2012, 10:27 PM
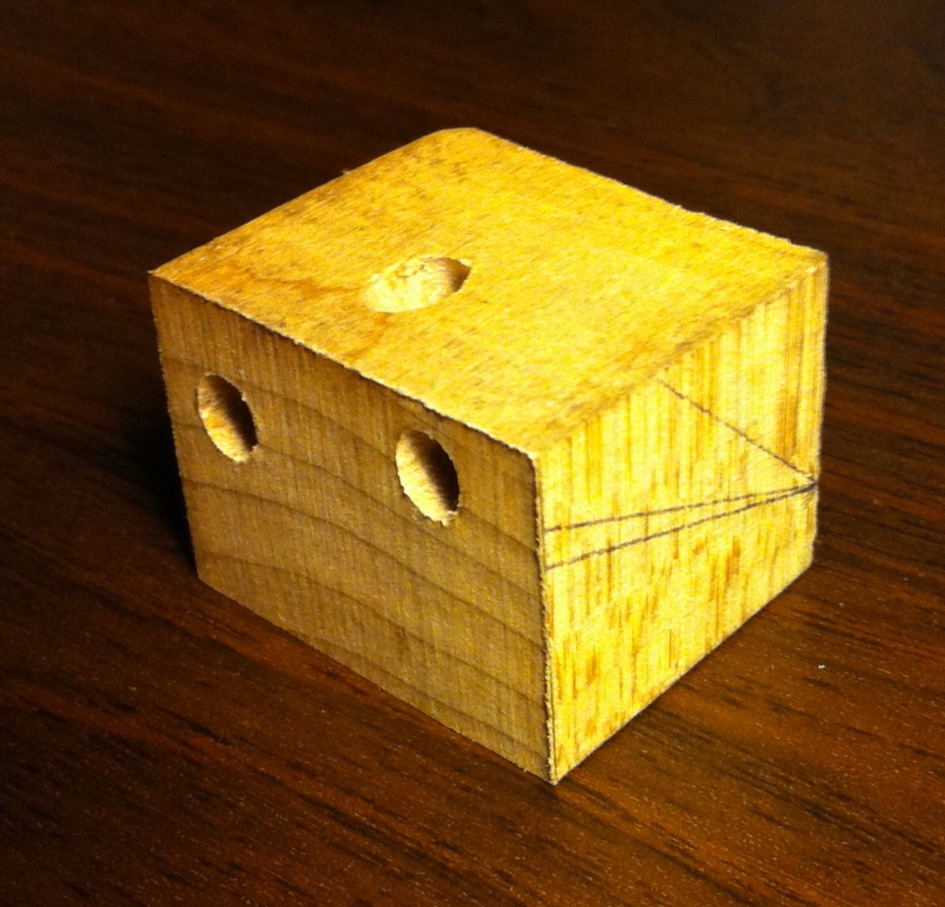
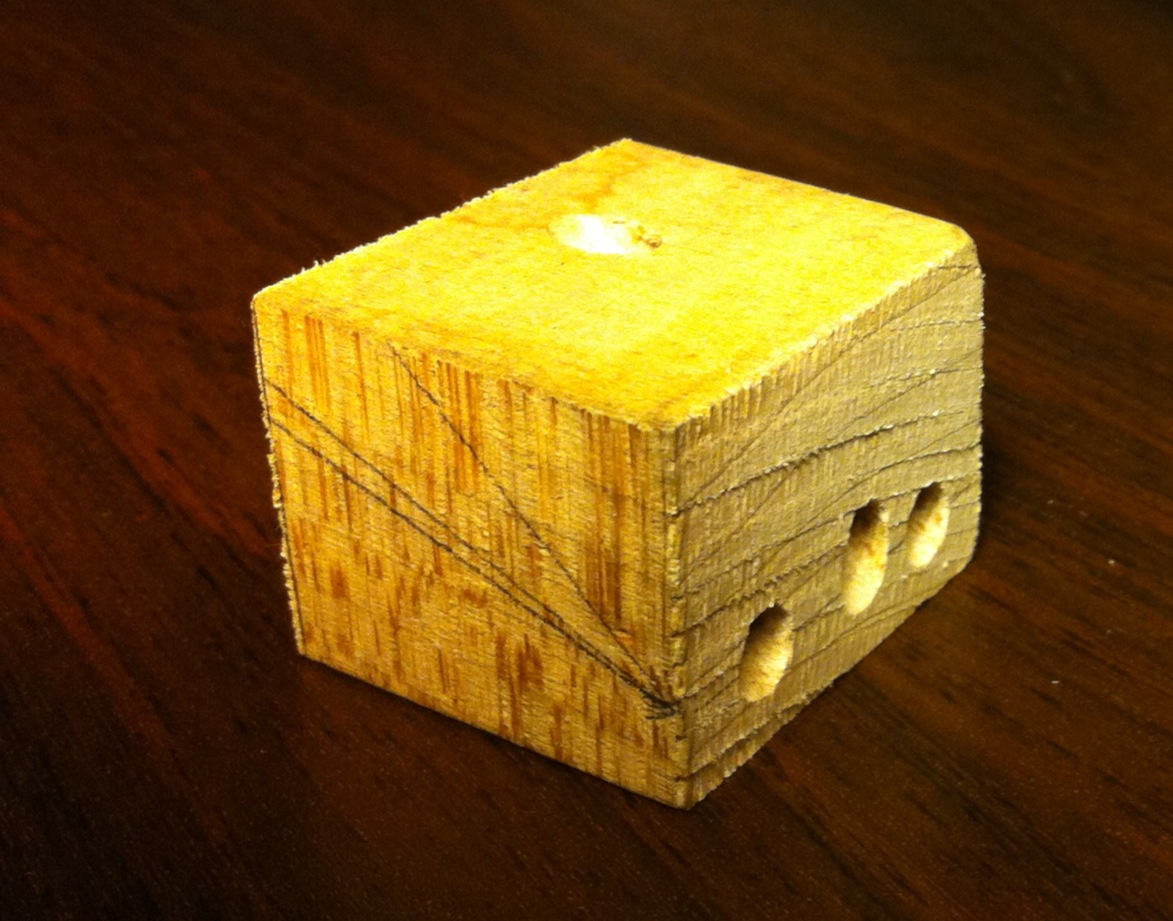
I'll regret this in the morning, but I got on a roll working on peghead stuff and couldn't stop. Nick's idea, which I like! is to clamp a drill guide onto the neck at the nut location and drill through that into the peghead veneer. I was able to prototype this by simply tilting my drill press table and hitting a block of wood with a brad point bit. That came out decent, so I moved on to try using it on Koa scrap.
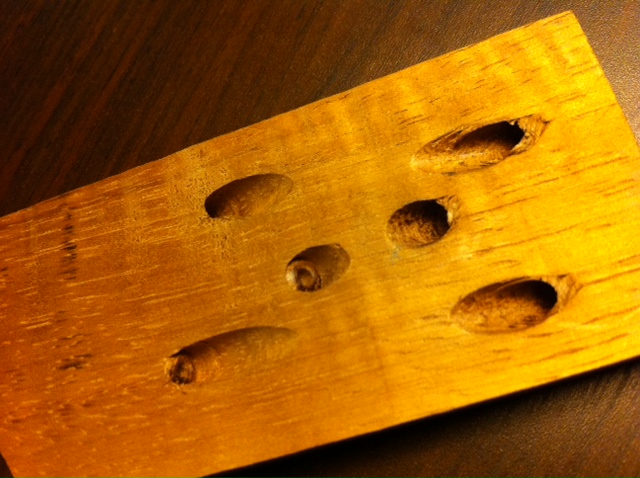
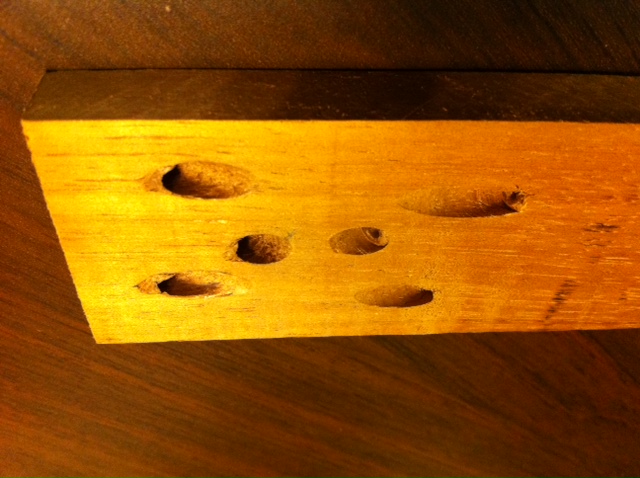
I drilled one set of holes with the brad point bit and another set with a very dull drill bit and a piece of wood clamped right behind the hole location to prevent the bit from bouncing off (that cool idea came from Monica's dad). The brad point bit made nice, clean holes. The drill bit made a mess of rough, burnished holes, especially tearing up the far edge. A fresh drill bit may work fine, but I really like the outcome with the brad point bit.
One problem is I can't drill deep enough on the low angle holes to get a good start and finish without the guide. As shown on the peghead ears post, these holes have to tunnel on the surface for a couple inches before finally going under. This will be even worse on a real peghead because the peghead angle effectively makes the hole angles even shallower. (I just forgot to account for the peghead angle on the scrap test.) A stop block completely covering the hole location should help by creating a secondary guide on the fly, which could be left in place and used to extend the holes after removing the real guide. And once the bit bottoms out there, a longer drill bit can go the rest of the way.
The lines drawn on the guide are pretty accurate, but I was eyeballing everything at the drill press table. With more care, I believe the guide can be drilled accurately. My plan is to make another one and then test it on a full scale scrap peghead that I started putting together. Good times.